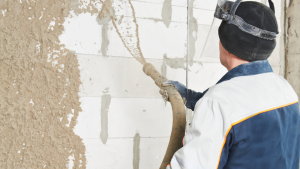
Traditional masonry stucco is a cement-based plaster used to coat walls and other surfaces inside and outside of constructions. It is constructed with cement, sand, and lime and hardens into a long-lasting product that needs minimal maintenance.
Stucco is not only low maintenance and energy efficient but also fire and rot-resistant, adding value to your home. It is ideal if you take care of your stucco walls early on and fix any stucco holes that form on the wall.
HOW TO REPAIR STUCCO?
Caulk may seal hairline cracks less than 1/3 to 1/4 inch in width. Stucco-patching caulks, often made of latex resin, are flexible enough to stretch and keep the gap closed even if it gradually expands.
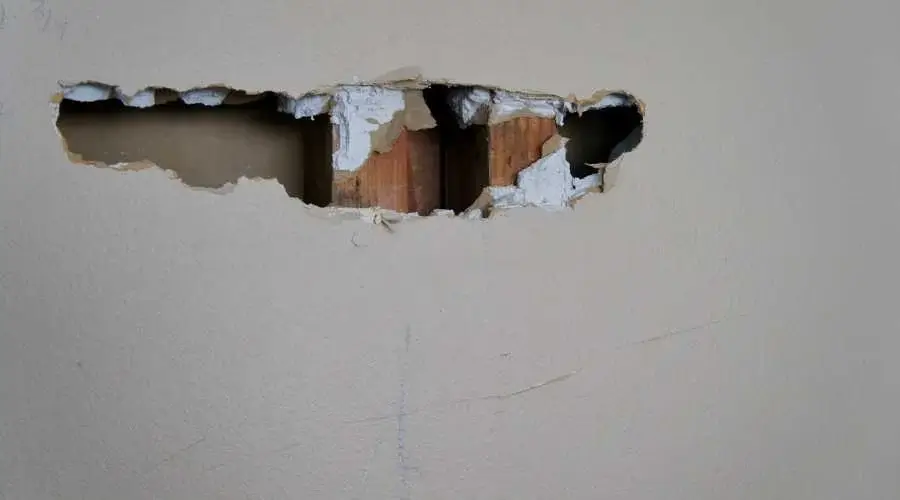
While stucco is one of the most resilient materials for wall coverings, settling and impact damage may cause cracks and holes to emerge in the hard material over time. To prevent future deterioration, big stucco holes or cracks must be repaired as soon as they appear.
It is a complex undertaking to repair these massive outside stucco holes. It takes time and the proper materials. Compared to a stucco repairer, your repair may be amateurish. You may contact a stucco repair near me at any moment to complete the task.
This article will examine a few techniques you may take to repair huge stucco holes on your own.
STEP 1:
Bring all of the tools needed to fix the stucco hole. You’ll need gloves, eye protection, and a dust mask.
STEP 2:
Cleaning up the area is the first thing to do. Corners. Remove the loose stucco from the hole with a cold chisel and ball-peen hammer and blow away the dust.
STEP 3:
Remove the old metal lath from the stucco outside of the patch area. If you pull the lath back, you can work with it more comfortably.
STEP 4:
Using the rubber membrane, seal off the lath’s outside edge. The area is sealed off and may not stick to the rubber membrane well. In such a case, make a temporary fix or tackle it with a few staples.
In place of rubber membrane, which is rather costly, you may use a tube of polyurethane sealer, which is less expensive and was previously employed by builders for this purpose.
STEP 5:
It would help if you cut a piece of double-D tar paper. Cut it to suit the exposed portion of the route. Use a hammer and nail to fasten the work to the sheathing.
STEP 6:
Portland cement and luminite should be ready. Apply laminate on the mesh wire that you have inserted into the hole, and then leave for no more than ten (10) minutes.
STEP 7:
When finished, spread the applied stuffing using a clean dash brush dipped in Portland cement. Avoid running too quickly when sprinting to avoid having the adhesive sink slightly. Avoid repeatedly dashing the laminate since that will likewise be minor.
STEP 8:
Draw designs on it with a trowel like a pattycake, then let it air dry. Paint the wall as it dries.
A stucco patch compound is necessary to repair larger cracks, chipped-out areas, and other problems. Before using this material, clean the area that has to be patched of any loose materials and cut V-grooves into the sidewalls of the crack.
Fill the hole or gap with a masonry float or trowel after mixing the patching compound per the instructions on the bottle. Before letting the compound cure, sand the repaired area using a scoop.
After the compound has cured, you may cover adding a second coat to the repair stucco patch and replicating the texture pattern using a comb or trowel.
As stucco settles and sustains impact damage over time, cracks and holes may appear. Finding a trustworthy stucco repairs nearby is essential.